Handling and Storage of HDPE/FRPP Pipes
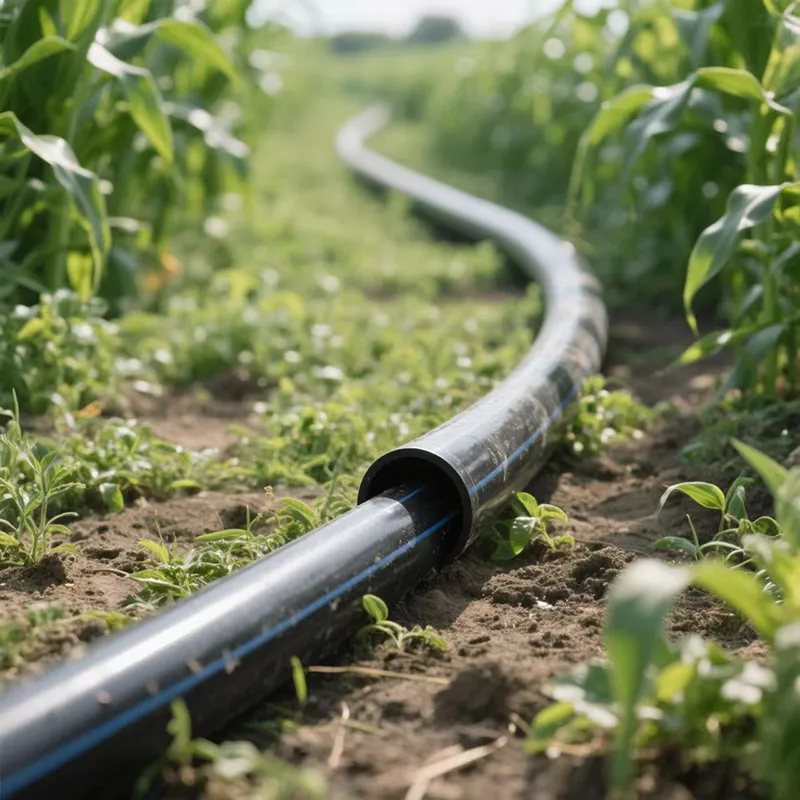
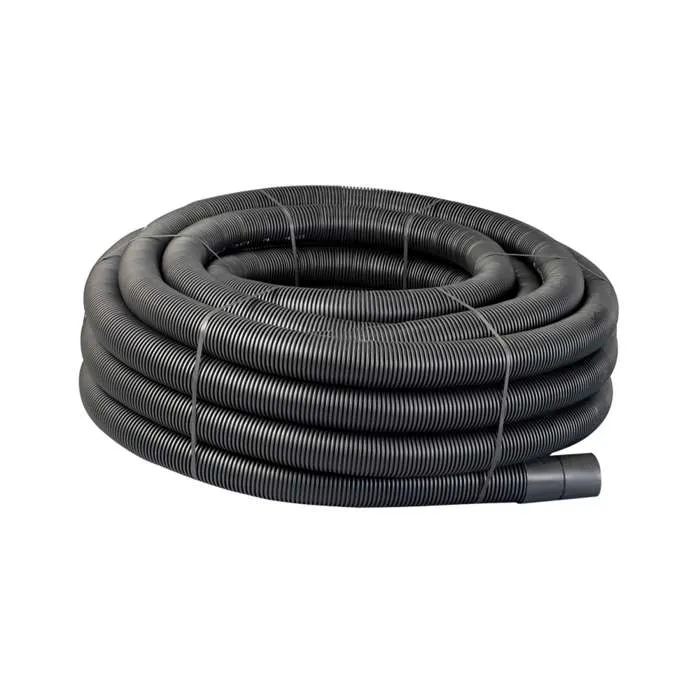
1. When loading, unloading, transporting and handling HDPE pipes, pipe fittings and accessories, they should be handled with care to avoid oil and chemical pollution. It is strictly forbidden to hit, throw, roll or drag them.
2. HDPE pipes, pipe fittings and accessories should be stored in a room with a temperature of less than or equal to 40℃ and good ventilation. They should not be stacked in the open air, avoid direct sunlight and stay away from heat sources.
3. HDPE pipes should be classified and stacked horizontally on the ground according to specifications. The stacking site should be flat without sharp protrusions. There should be pads at the bottom. The spacing between pads should be less than or equal to 1m, the width should be greater than or equal to 0.15m, and the overhang should not exceed 0.15m. When using a pipe rack for storage, there should be supports in the horizontal direction, and the spacing between supports should not be greater than 1m. Local pressure should be avoided to deform the pipes, and the stacking height should not exceed 1.5m. Pipe fittings should be stored in boxes on shelves or neatly stacked layer by layer, and the stacking height should not exceed 1.5m.
Groove size and standard of HDPE pipes
1. Please use the original groove machine, because the groove quality directly affects the connection strength and sealing effect of pipe fittings, so the groove personnel need to be guided by the manufacturer's technical personnel and strictly follow the following standard dimensions;
312368.webp)
2.Standard size of HDPE pipe groove
| Pipe Type | Pipe Specifications | H(Edge width, sealing ring) | w (Slot width) | h (Groove Depth) |
| Solid wall pipe | Dn50*3.2 | 1.4 | 0.8 | 1.5 |
| Dn75*4.5 | 1.4 | 0.8 | 2 | |
| Dn110*6.6 | 1.4 | 0.8 | 2.5 | |
| Dn160*7.0 | 1.4 | 0.8 | 3 | |
| Dn200*8.7 | 1.8 | 1 | 3.5 | |
| Hollow spiral pipe | Dn110*6.6 | 1.4 | 0.8 | 2.5 |
| Dn160*7.0 | 1.4 | 0.8 | 2.5 |
HDPE/FRPP screw flange gland type socket connection pipeline system installation
Installation sequence and key points:
1. HDPE pipes are flexible pipes that are easy to bend. After unloading, they must be stacked flat to avoid throwing, rolling, dragging and collision;
2. Installation sequence: pipe fittings--seal ring--pressure ring--threaded gland
3. Use a special crescent wrench to turn clockwise to ensure that the seal ring has been pressed into the groove (the seal ring is basically flush with the pipe fitting after tightening)
4. After tightening, fix it with a safety cover (bolt specification 6*20mm) , solve the problem of screw loosening caused by long-term drainage vibration;
5. The socket depth of the expansion joint is about 5-6cm, and 2-3cm expansion space is reserved from the bottom to solve the problem of interface shedding or pipe bending caused by thermal expansion and contraction;
6. The flexible socket connection belongs to the non-pressure drainage system. The vertical pipe, horizontal pipe and pipe fittings need to be strengthened and fixed at the pipe bend to prevent the pipe fittings from falling off after the full tank is pressurized;
7. When installing, a small amount of detergent and water can be added to the sealing ring to reduce friction.
HDPE/FRPP pipe clamp and hanging card installation standards
| Nominal outer diameter (mm) | Dn50 | Dn75 | Dn110 | Dn160 | Dn200 | |
| Maximum spacing of movable brackets(m) | Riser | 0.75 | 1.1 | 1.5 | 2 | 2 |
| Horizontal pipe | 0.5 | 0.75 | 1.1 | 1.6 | 1.6 | |
1. Riser: ABS pipe clamp + galvanized pipe nail, outer 20PVC wire pipe;
2. Hanging card: 50-110 pipes use iron expansion three-piece set + M10 galvanized screw (outer 20PVC wire pipe) 160-200 pipes use metal mounting plate + M10 galvanized screw (outer dn20PVC wire pipe)
3. According to the requirements of plastic pipe installation, add reinforced pipe clamps, galvanized brackets or earthquake-resistant brackets
4. Outdoor pipe clamps should be appropriately encrypted.
Setting of expansion joints
1. An expansion joint should be set between two fixed objects. When the longest straight length exceeds 6m, at least one expansion joint should be set. When the expansion joint is connected to the pipe socket, a minimum of 2cm expansion margin should be reserved at the bottom to solve the problem of interface detachment or pipe bending caused by thermal expansion and contraction;
2. When an expansion joint is set on the drainage horizontal main pipe, it should be set in front of the vertical pipe connecting to the horizontal main pipe, or in front of the connection point between the horizontal branch pipe and the horizontal main pipe, tightened with a special crescent wrench, and fixed with a safety cover. (Very important)
3. When the drainage riser is connected to the horizontal branch pipe, the expansion joint should be installed below the position where the drainage horizontal branch pipe is connected to the riser;
4. Pay attention to the direction of the expansion joint installation, and the socket should be installed in the opposite direction of the water flow;
5. The depth of the pipe inserted into the expansion joint should be determined according to the construction environment temperature, leaving 2-3cm or enough expansion space at the bottom to solve the pipe bending caused by thermal expansion and contraction;
6. Put the sealing ring into the socket of the expansion joint, tighten the gland with a special crescent wrench and fix it, and the installation should be dense;
7. A fixed bracket should be set at each expansion joint.
Center distance of H-type pipe fittings
| Specification | Center distance/cm |
| 75*75*75 | 18.0 |
| 110*75*110 | 18.5 |
| 160*110*110 | 23.5 |
| 110*75*75 | 18.0 |
| Other sizes of H tubes can be customized according to project site conditions | |
Connection and laying of HDPE buried pipes
According to the specification, the long-distance buried part of HDPE pipes is recommended to be connected by hot melting or electric melting;
1) Hot melting
1. Cutting: Cut the impurities and oxide layer of the welded pipe section and the end face of the pipe fitting to ensure that the two butt ends are flat, smooth and free of impurities;
2. Centering: The two welded pipe ends should be aligned, the smaller the misalignment, the better, and the misalignment cannot exceed 10% of the wall thickness;
3. Temperature: The butt connection temperature is generally between 160-180℃ for 50-75 specifications, between 180-190℃ for 110-160 specifications, and not more than 200℃ for specifications above 200;
4. Heating: After heating, wait for the pipe end to be flanging 2-3mm after the heating plate is removed, the two hot melt end faces are quickly glued together and pressurized. The pressure is applied until there is obvious resistance to the touch. To ensure the quality of fusion butt joint, the shorter the closing time, the better;
5. Fusion butt joint: The butt joint process should always be carried out under fusion pressure. The curling width should be 2-4mm . The melt should be black, bright and crystal clear to be qualified;
6. Cooling: Keep the butt joint pressure unchanged and let the interface cool slowly. The cooling time is based on the temperature that the palm can withstand when the curling edge is stiff.
7. Butt joint is completed: After cooling, release the slips, remove the butt joint machine, and keep the interface horizontal.
2) Electric fusion
1. Use matching electric fusion pipe fittings and electric fusion equipment, clean the socket part and end face, no water and dirt, mark the socket depth, use a scraper to remove the surface, adjust to the appropriate outer diameter, put the socket in place, connect the positive and negative electrodes of the electric fusion, remove the equipment after the timer switch automatically turns off, and move it after cooling;
3) Pressure test and backfill
1. The system can be filled with water for pressure test 24 hours after welding is completed. If the closed pressure test is performed, make sure to exhaust the air in the pipeline first (very important);
2. There is no leakage point during the pressure test. After confirming that the system is safe, backfill with water. Pay attention to the water level in the pipeline during backfilling. If the water level drops, it means there is a leakage point, which needs to be discovered and rectified in time. The pipes are compacted and leveled with medium sand around them, and the thickness of the sand layer is not less than 20CM to cope with thermal expansion and contraction during use, and to avoid impact from sharp objects during backfilling;
Waterproofing
Method: Use a dedicated waterproof sleeve for risers (patented product), which can be completely solved in one step. The pipes can be freely expanded and contracted in layers, and will not bend or crack due to uneven thermal expansion and contraction. Due to the characteristics of the material, other methods of filling holes are not ideal. There is a greater risk of water leakage under the action of thermal expansion and contraction, and it is difficult to repair.
530638.webp)
2. Construction of ventilation pipes through roof slabs
Method: Use special waterproof sleeves to solve the problem in one step and prevent water seepage
849731.webp)
It is recommended to use special waterproof sleeves, or use HDPE*PVC special transition transition at the bottom of the top floor slab, and use PVC pipes for passing through the floor slab and above; the waterproof sleeves need to be more than 10cm above the ground to make waterproof piers, and the interface should be flexibly sealed with non-curing waterproof materials, or compensated with asphalt, and waterproof rolls should be laid, and repeated painting should be done at the junction of the pipe (10cm above the ground) and the ground (the ground needs to be dry, clean and dust-free).
3. Node diagram of bathroom branch pipe passing through floor slab
680797.webp)
Method: Use Yiwanchuan special waterproof sleeve to solve the problem in one step and prevent water seepage
Method 2: Use HDPE*PVC special conversion joint at the bottom of the floor slab, use PVC pipe for the part passing through the floor slab, and put a sealing ring on the outer wall. It is embedded in the middle of the floor slab concrete when filling the hole to compensate for the thermal expansion and contraction of the pipe
4. Bathroom (drop-type same-floor drainage)
541331.webp)
5. Installation of outlet pipe passing through the wall (through the roof)
908669.webp)
According to the design specification requirements and the characteristics of HDPE material, flexible materials cannot be directly passed through the wall to avoid water seepage under the action of thermal expansion and contraction.
546.webp)
736.webp)
328.webp)
294.webp)
476.webp)
420.webp)
146.webp)
460.webp)
287.webp)


