Tools and materials needed:
Pipe cutter or saw
Pipe fusion machine
Pipe clamp
Pipe cleaner
Pipe support
Pipe glue or solvent cement
Teflon tape
Types of PE pipes:
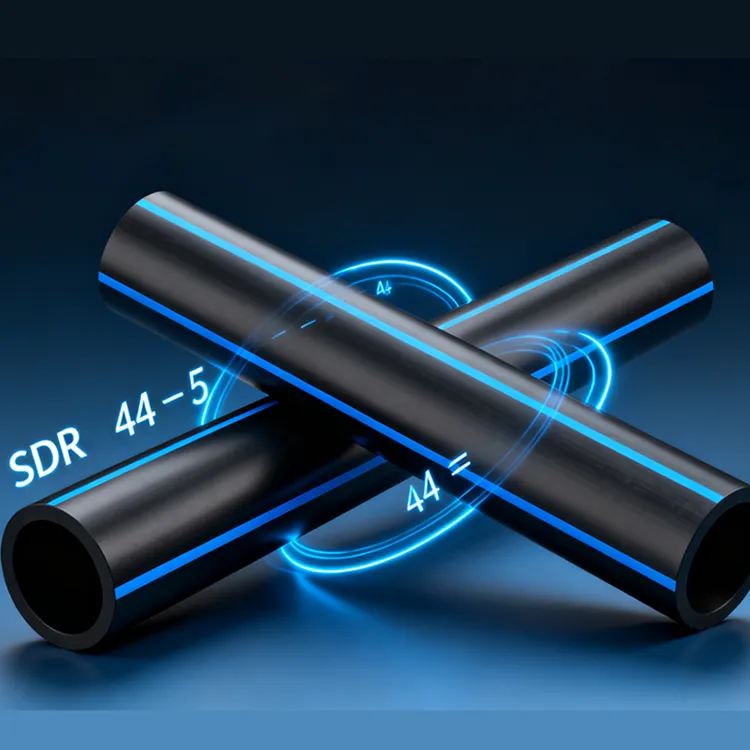
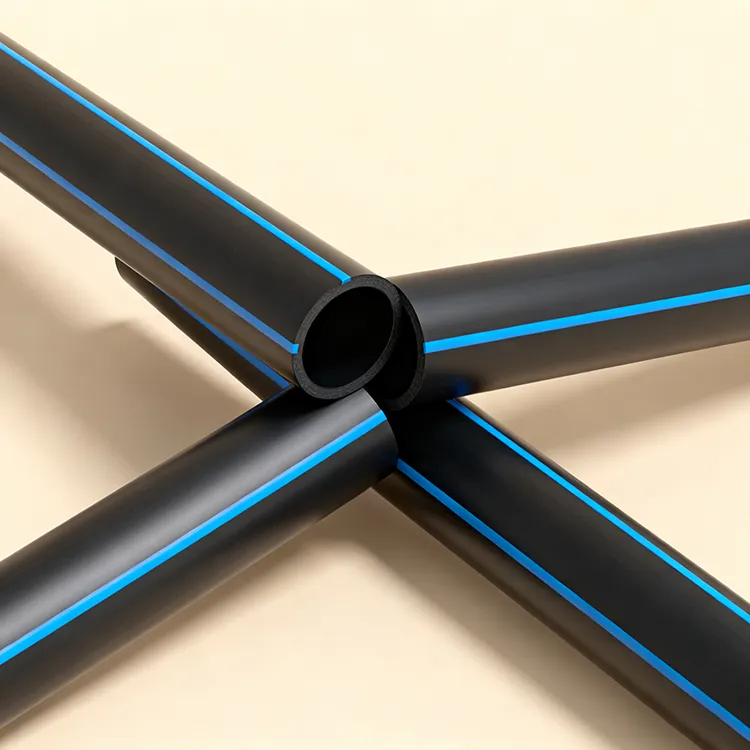
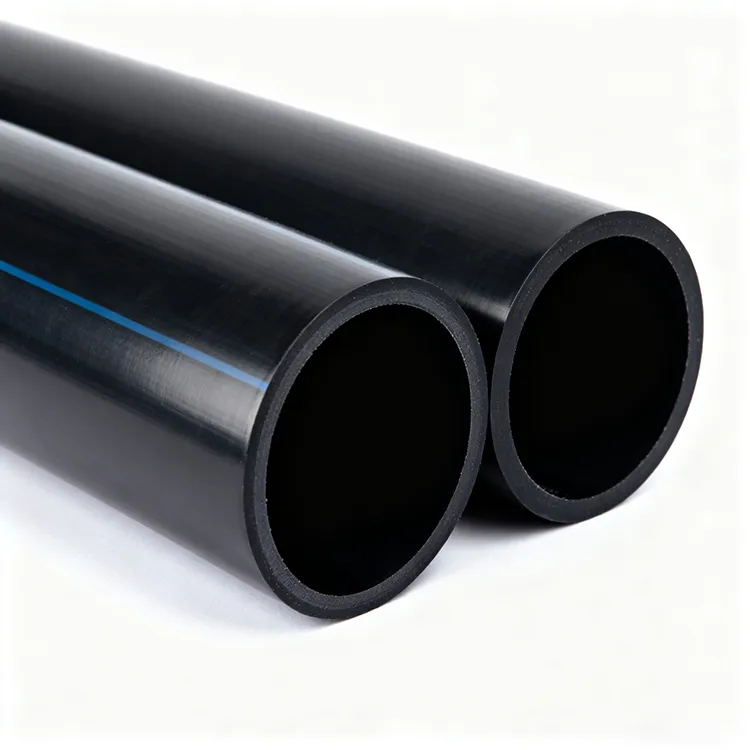
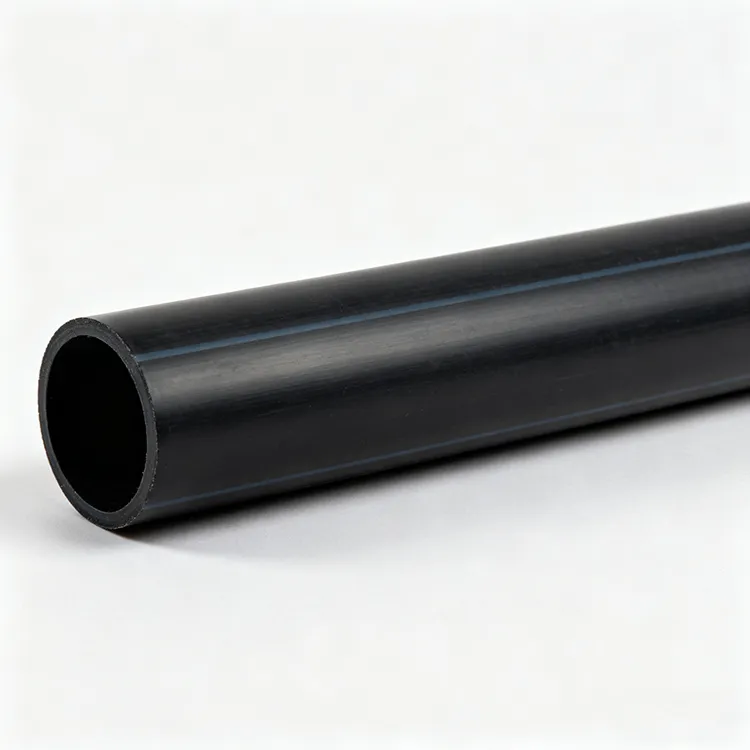
There are two main types of PE pipes: high-density polyethylene (HDPE) and medium-density polyethylene (MDPE). HDPE pipes are more rigid and have a higher pressure rating, making them suitable for use in high-pressure applications such as water supply and gas distribution. MDPE pipes are more flexible and have a lower pressure rating, making them suitable for use in low-pressure applications such as irrigation and sewage.
Preparing the pipes:
Before you can begin installing the pipes, you need to ensure that they are properly prepared. This includes cleaning the pipes and fittings, as well as prepping the ends of the pipes for fusion. To clean the pipes, use a pipe cleaner or scrub brush to remove any dirt or debris that may have accumulated on the surface. To prepare the ends of the pipes for fusion, use a pipe clamp to hold the pipes in place while you apply a thin layer of Teflon tape to the end of the pipe. This will help to create a secure seal when the pipes are fused together.
Fusing the pipes:
The next step in the installation process is to fuse the pipes together. This is typically done using a pipe fusion machine, which heats the ends of the pipes until they become pliable and can be fused together. To begin, place the pipes in the fusion machine and follow the manufacturer's instructions for setting the temperature and pressure. Once the pipes are heated to the proper temperature, carefully align the ends of the pipes and press them together until they fuse.
Securing the pipes:
After the pipes are fused together, you need to secure them in place to ensure that they remain stable and do not shift. This can be done using pipe supports, which are brackets that hold the pipes in place. Pipe supports can be attached to the pipes using bolts or screws, or they can be welded onto the pipes if they are made of metal.
Testing the pipes:
Once the pipes are installed and secured, it is important to test them to ensure that they are functioning properly. This can be done by filling the pipes with water and observing for any leaks or other issues. If you do encounter any problems, you may need to repair or replace the pipes as needed.
Finishing the installation:
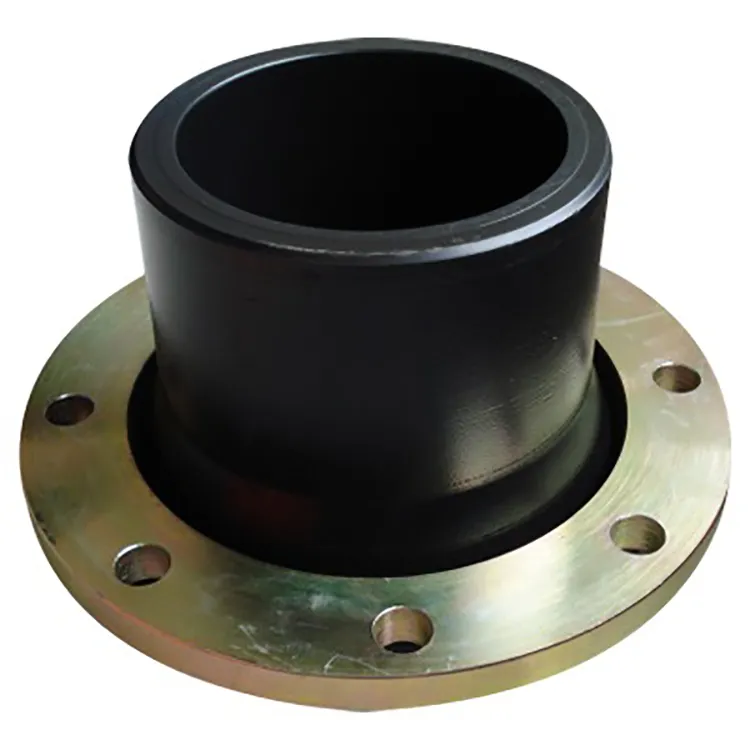
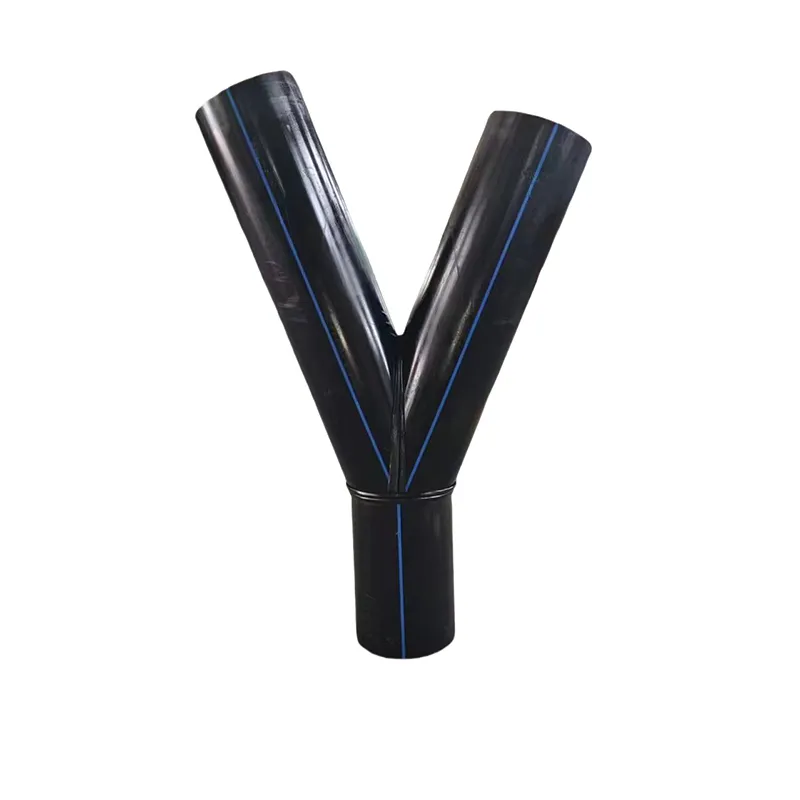
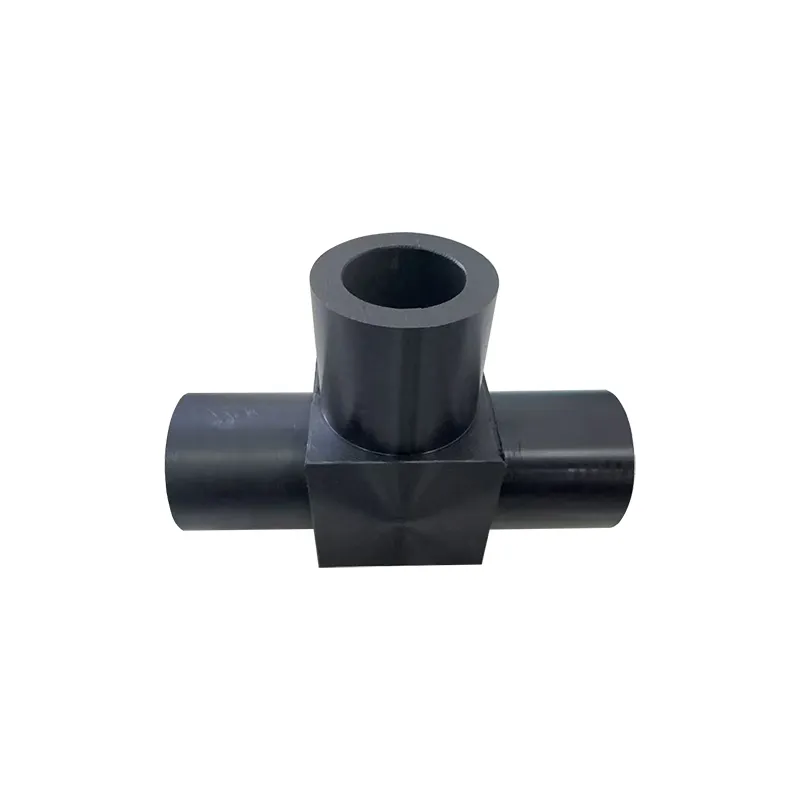
The final step in the installation process is to finish the pipes. This may include adding any necessary fittings, such as elbow joints or T-shaped connectors, and sealing the joints with pipe glue or solvent cement. You may also need to install any necessary valves or other equipment to control the flow of water or other fluids through the pipes.
In conclusion, installing PE pipes requires careful planning and attention to detail. By following these steps and using the right tools and materials, you can successfully install PE pipes for a variety of applications. Remember to always follow the manufacturer's instructions and local building
659.webp)
210.webp)
328.webp)
294.webp)
476.webp)


