1. Inspection
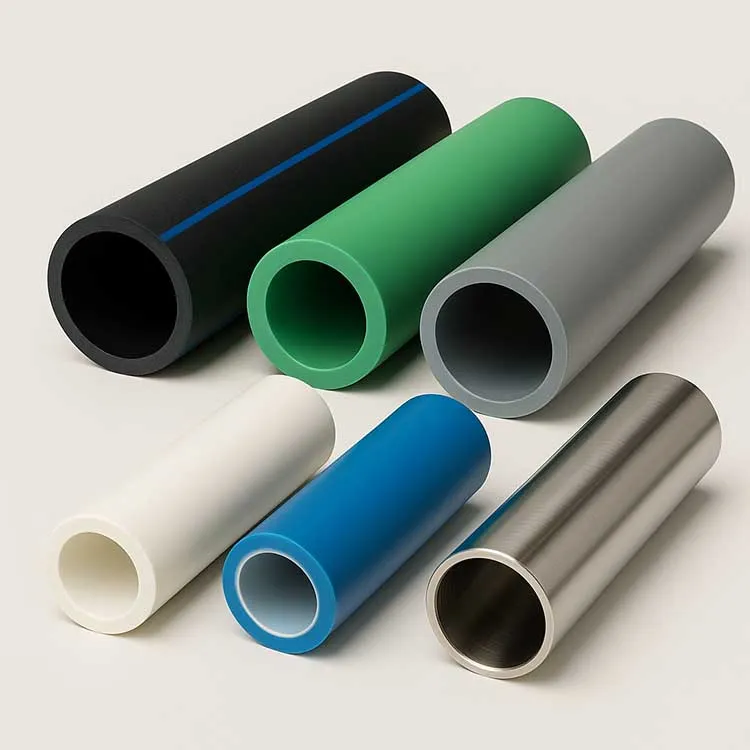
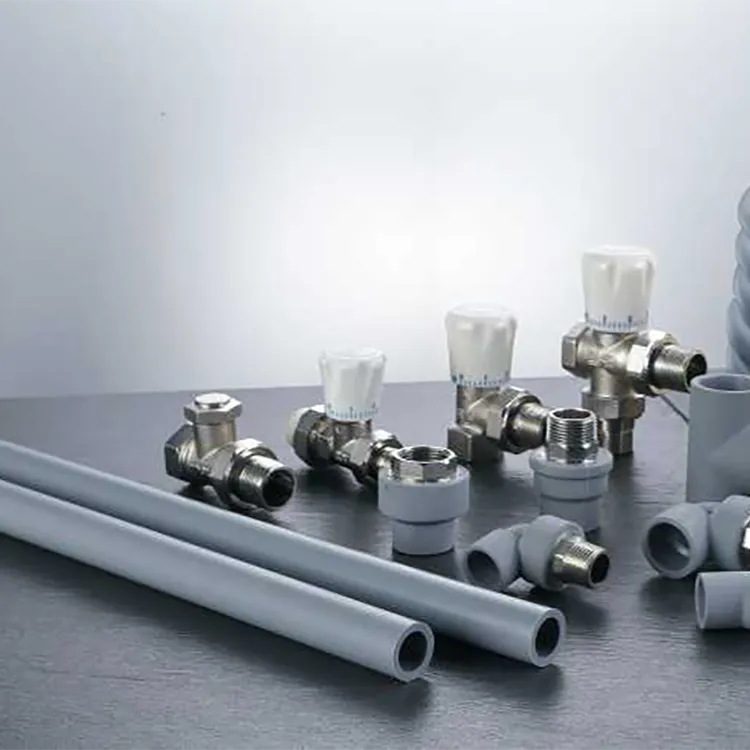
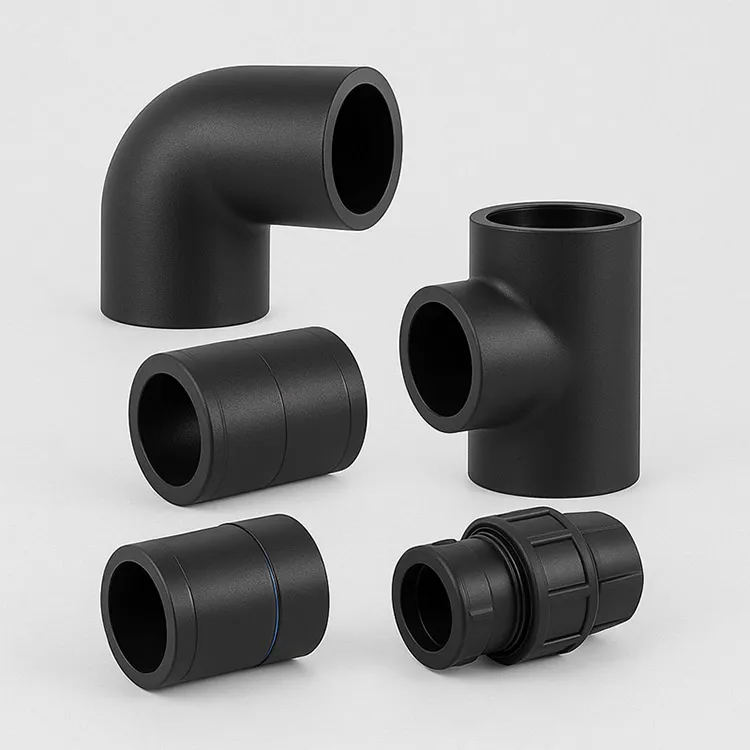
Before construction, the pipes and fittings should be inspected to see if they meet the standard requirements, such as appearance, size, and other requirements. A column that does not meet the requirements is not allowed to be put into use.
2. Blanking
Due to the need for an undetermined length when turning, opening the tee, and reducing the diameter of the pipe, cut off the pipe according to the length dimension designed according to the required drawings. The length of the pipe should consider the socket depth of the pipe fittings and the grinding allowance of the nozzle (those that are cut flat may not be considered)
3. Seal
Use a PE electrode and a welding torch to perform manual plastic thermal surfacing to cover the steel wire for cutting the pipe port. The electrode should be as smooth as possible, and the end face is strictly prohibited from exposing the steel wire. After cooling, the flanging will be polished so as not to affect the installation.
4. Deoxidation layer
To improve the welding performance, the welding surface of the pipe needs to remove the oxide layer and use the mill blade grinding treatment. When removing the oxide layer, the entire periphery should be polished evenly, covering everything, and no leakage is allowed. The scraping length is greater than the socket depth of the pipe fittings by 30mm. Pipes with a diameter below dn110 are scraped with glass sheets.
The inner wall of the pipe fitting also needs to be cleaned. The small diameter is scrubbed with alcohol, and the large diameter can be scraped off the skin. Since the inner wall of the pipe is covered with copper wire, a soft abrasive sheet can also be used for electric grinding to avoid grinding the heating wire.
5. Alcohol (acetone) scrub
After grinding, use a cleaning rag or cotton yarn with alcohol (above 95 degrees) or acetone to clean the surface of the inner and outer pipes and pipe fittings, so that there is no mud, oil, and other dirt on the welding surface. When the rag or cotton yarn is dirty during use, it must be washed with clean water in time.

6. Let it dry
When assembling, ensure that the pipe fittings and pipe ports are dry, and no water droplets are allowed for assembly. If it is not dried, it is easy to generate air bubbles during welding, which will affect the adhesion of the welding surface.
7. Make a mark
Make a mark on the socket depth of the pipe fitting at the pipe port. The size of the mark is equal to the socket depth of the pipe fitting to ensure that the pipe socket is in place and the welding quality is guaranteed. If the socket is not in place, the heating part is exposed, the melting and welding area is reduced, the pressure bearing capacity is greatly reduced, and the plastic in the pipe fitting will collapse during welding, causing the pipe fitting to be welded through. When marking, the marking must be obvious.
8. Install the rope tightener
Dn160-Dn355 caliber adopts a set of rope tightening devices during normal installation, which is used directly above the pipe fittings. The function of the rope tightening device: 1. It plays the role of tightening the socket and is not easy to move outward during welding. The matching clearance effect. For diameters above Dn400, 2 sets of rope tighteners are used for normal installation, which is used on the horizontal sides of the pipe fittings, and the left and right are symmetrical. When installing pipe fittings of any diameter, it is necessary to ensure that the pipe fittings are horizontal and straight. The pipe fittings in special cases can be fixed by a rope tightener.
9. Socket in place
When the socket is inserted, first put the pipe fitting on one end of the pipe, and when it is slightly tight, use a hammer to gently tap it in. On the other end, the diameter of Dn50¬Dn250 is used to hit the end of the pipe with a hammer to make the socket bit. Large-diameter pipes above Dn315 use a hand hoist (tensioner) to assist the socket in place. When the socket is inserted, the mark is just exposed to the edge of the pipe fitting, and it is not allowed to have over-insertion, the socket is not in place, and the pipe fitting is not in the middle.

10. Adjustment
After installation, adjust the connection between the pipe fitting and the pipe to the same concentricity and levelness. There should be no serious V-shape at the pipe fitting, and the general angle should not exceed 15 degrees.
11. Pipe fitting number
To control the tracking of quality, the responsibility is assigned to the person. After installing a pipe fitting, the pipe fitting shall be numbered, and the number shall be uniformly formulated by the supervision company.
12. Welding
The connection between pipe and pipe is welded by pipe fittings by electrofusion, and welding should be done according to the welding principle.
13. Cool down
After welding, the joint should be in a natural state during the cooling process, and it should be ensured that it will not be affected by any external force during the cooling process, and the joint part and the pipes on both sides should not be moved or rotated. The cooling time should be determined according to the climatic conditions and the size of the pipe fittings. Generally, 24 hours of cooling time is required.


981.webp)
 (1)379.webp)
294.webp)
476.webp)
420.webp)
146.webp)
460.webp)
287.webp)
274.webp)
688.webp)

